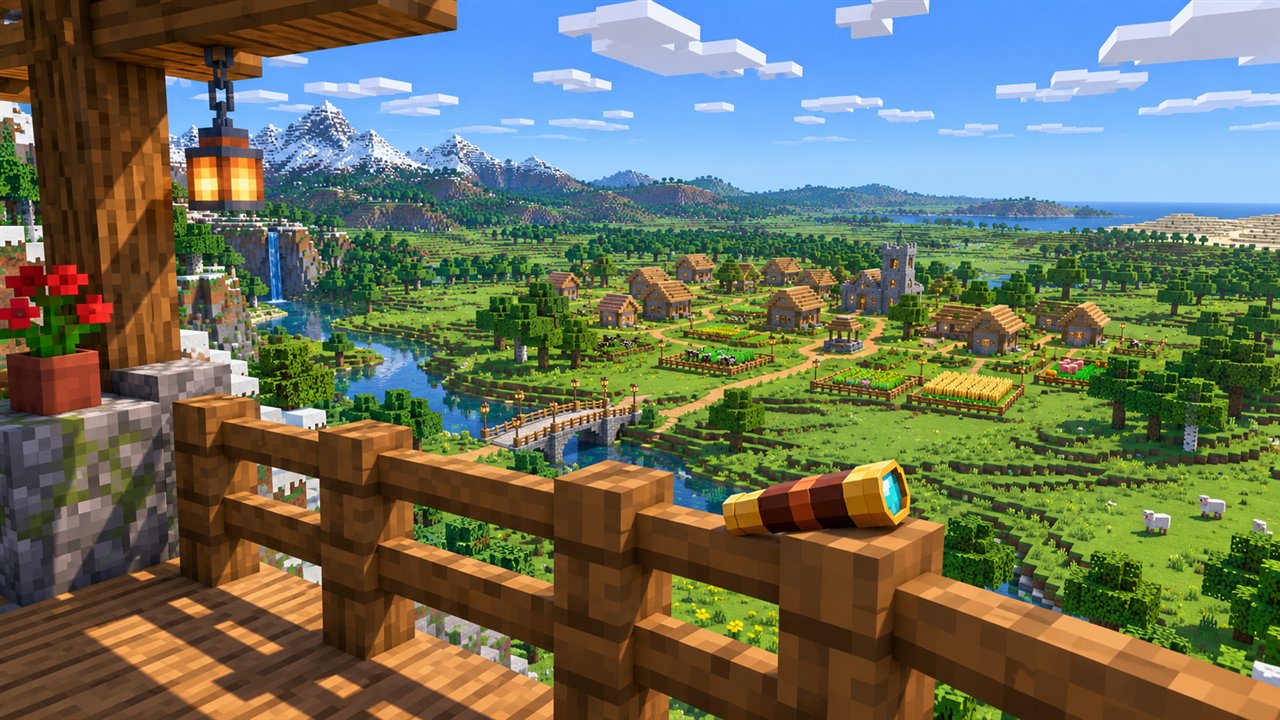
How to use OptiFine well is less about installing it and more about knowing which settings to change. After installation, the mod adds a much larger Video Settings menu, a zoom key, shader support and extra resource pack features, and each of these can make Minecraft Java Edition look better or run smoother depending on how you configure it.
This guide explains the main OptiFine menus in plain language, shows how to use zoom, shaders and resource packs, and shares sensible starting points for both low-end and high-end computers.
Finding the OptiFine Video Settings
Start the game with your OptiFine profile, open Options and click Video Settings. Instead of the short standard list, you will see a full page of options plus buttons for several sub-menus. Hovering over most settings shows a short description, which is useful when you are not sure what something does.
The main page holds the settings that affect performance the most, while the sub-menus organise everything else by topic:
- Details covers clouds, trees, sky, sun and moon, fog and similar visual elements.
- Quality includes mipmaps, anisotropic filtering, better grass, connected textures and other texture options.
- Animations lets you switch individual animations such as water, lava, fire and particles on or off.
- Performance holds options aimed at smoother frame rates, including chunk update behaviour and render regions.
- Other and Shaders handle extra options and shader pack selection.
Using OptiFine Settings for Better Performance
If your goal is higher and steadier frame rates, begin with the settings that have the largest impact. Render distance is the biggest factor, because every extra chunk adds more world to draw. Graphics quality, smooth lighting and the number of particles come next.
Change one setting at a time and play for a minute before changing the next. This makes it easy to see which option actually helps on your computer.
| Setting | For more speed | For better visuals |
|---|---|---|
| Render Distance | Lower it to around 8 chunks | Raise it on strong hardware |
| Graphics | Fast | Fancy |
| Clouds | Off or Fast | Fancy |
| Particles | Minimal or Decreased | All |
| Animations | Turn off the ones you do not need | Leave all on |
How to Use the OptiFine Zoom Key
OptiFine adds a zoom function that works like a short-range spyglass. Hold the C key to zoom in on distant terrain, builds or mobs, and release it to return to the normal view. It is handy for scouting, checking far-off structures and lining up screenshots.
If C clashes with another control or mod, open Options, then Controls, and look for the zoom entry. You can assign any key that feels comfortable.
Turning On Dynamic Lights
Dynamic Lights makes held light sources, such as torches, glowstone and lava buckets, light up the area around you without placing them. It is useful in caves and at night when you want to explore before setting down permanent lighting.
You can choose between fast and fancy modes in the Video Settings. The fancy mode looks smoother, while the fast mode updates less often and is lighter on performance.
How to Use Shaders with OptiFine
Shader packs change lighting, shadows, water and sky to create a more realistic look. OptiFine provides the system that loads these packs, so you only need to add the pack files and select one.
Adding a Shader Pack
Open Video Settings, click Shaders and then press the Shaders Folder button. Copy the downloaded shader pack, usually a .zip file, into that folder without unzipping it. Return to the game and the pack will appear in the list.
Choosing and Adjusting Shaders
Click a pack name to load it and wait while the game reloads. Many packs include their own options for shadow quality, reflections and effects, which you can reach through the Shader Options button. Lowering shadow resolution and distance often gives the biggest performance gain.
Shader performance depends heavily on your graphics card. If the game becomes slow, try a lighter pack or reduce render distance while shaders are on.
Using HD Resource Packs and Texture Features
Many detailed resource packs rely on OptiFine features to display correctly. These include connected textures that join glass and bookshelves into smooth surfaces, custom skies, random mob textures and emissive effects. Without OptiFine, some of these packs look incomplete.
Add resource packs through Options and Resource Packs as normal. Then check the Quality menu in Video Settings to make sure options such as connected textures, custom sky and natural textures are switched on.
Suggested OptiFine Setups for Different Computers
No single configuration suits every system, but these starting points save time. Adjust them as you go.
- Older laptops: fast graphics, lower render distance, clouds off, reduced particles and most animations disabled.
- Mid-range PCs: fancy graphics, medium render distance, smooth lighting on and a light shader pack for special occasions.
- High-end PCs: higher render distance, full quality options, HD resource packs and a detailed shader pack with tuned shadow settings.
Using OptiFine for Screenshots and Showcase Builds
OptiFine is popular with builders who want their creations to look their best in screenshots and videos. A temporary visual profile works well here: raise render distance, switch on smooth lighting and fancy graphics, load your favourite shader pack and hide the interface with the F1 key before capturing the moment.
The zoom key also helps frame distant builds without moving the camera. When you are finished, switch back to your everyday settings so normal gameplay stays responsive.
- Choose golden hour or night scenes to show off shader lighting.
- Turn off particles that clutter the frame.
- Use custom sky and connected textures if your resource pack supports them.
Helpful Habits When Using OptiFine
Small habits make OptiFine easier to manage over time. Keep a note of the settings you like, because updating to a new Minecraft version can create a fresh profile with default options. Back up worlds before testing new shader or mod combinations.
When something looks wrong, such as flickering textures or missing effects, reset only the setting you most recently changed rather than everything at once. If you still need help, our installation guide covers common fixes.
Conclusion
How to use OptiFine effectively comes down to exploring its Video Settings menus, changing one option at a time and matching the visuals to what your computer can handle. The zoom key, dynamic lights, shader packs and texture features then add the finishing touches that make the game feel fresh.
Start with performance, add visual extras gradually and keep notes of the setup that works best. If you have not installed the mod yet, visit the download section to find the build that matches your Minecraft version.